|
Homework:
1. Read through all Lessons and Examples and post any questions you may have on the Class Bulletin Board.
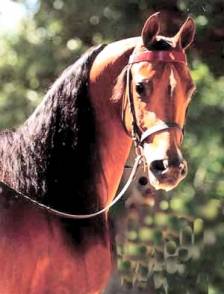
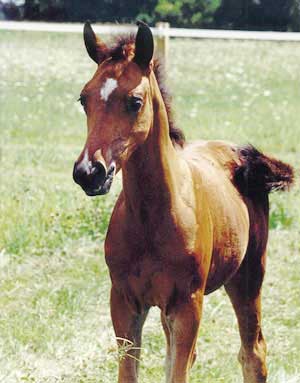
2. Use your own photo or the one provided to demonstrate the Clarify and Unsharp Mask techniques in Exercises 5-1 and 5-2. Include on your Homework page.
3. Combine two photos of your choice using the techniques given for Photo Combinations. Include samples of both original photos as well as the final result on your Homework page.
4. Create a simple portrait of a photo you have or using the one provided in the example. Use only the techniques described.
Have fun!.
Extra Credit
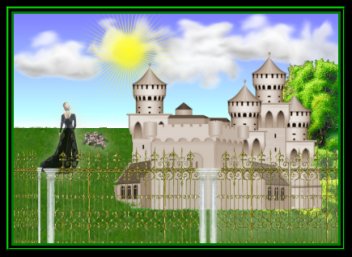
1. Gradient < SumerField H50/V50/A0/R0> 2.CostumBrush (sun) 3. Picture tubes ( clouds, castle, woman, fencing ) 4. Clonebrush (round S3/H100/D100/S25) 5.Drop Shadow( V3/H2/50/B2/beige) 6. Frame ( 3/3/3/8/ green and black ) 7. InnerBevel 8. Outer Bevel

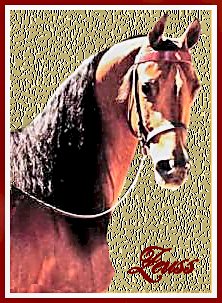
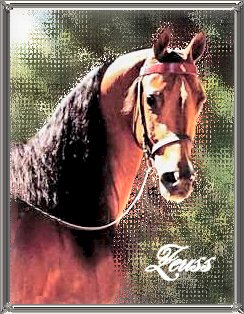
Framing a Picture
The Number values used for our image are: Width = 8 Smoothness = 0 Depth = 3
Ambience = 0 Shininess = 58 Angle = 315 Intensity = 71 Elevation = 21

Combining Images
Mosaic Glass

Kaleidoscope
Wind
Basic Photo Fixing
|